

Routine approval
For new devices you control
Use an existing trusted device to review and approve new device enrollments.
Fast, simple, and keeps your account in your hands.
PasswordFix is in development. Features and timing may change before release.
A guided setup helps you choose vaults and trusted devices without hiding important security decisions.
Join the waiting list →STEP 1
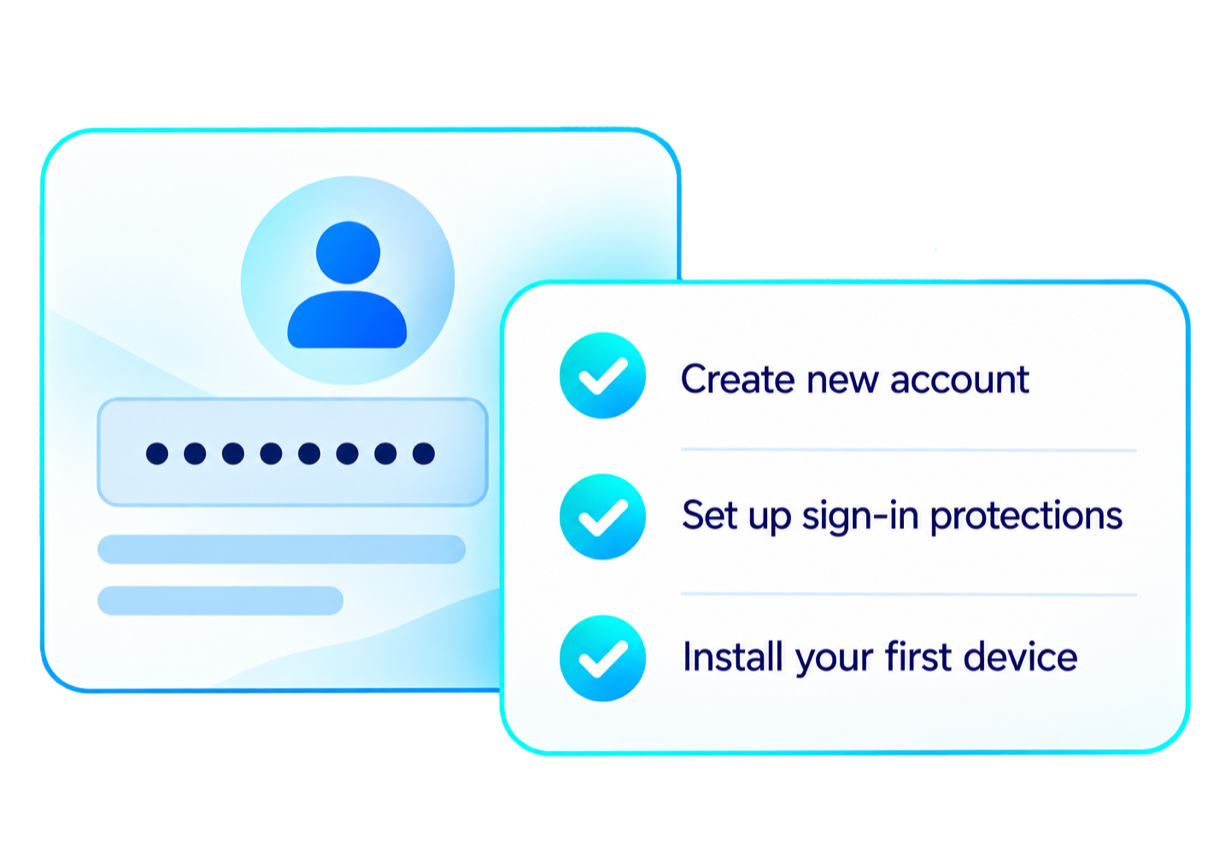
Create your account
Confirm your email and choose your master password. This phone becomes your first trusted device.
STEP 2
PROTECT YOUR VAULTS
Print your Recovery Kit and keep it somewhere safe, not in cloud storage. Then give your Emergency Safe its own passphrase. To finish, add a second phone or iPad, or save a Safe Spare Key.
Reminder: Keep your Recovery Kit in one place and your Safe Spare Key in another.
STEP 3
CHOOSE PER-DEVICE ACCESS
Decide what each device can access. Your Emergency Safe stays on your phone or iPad. A work phone might have only your Vault. On a computer, the browser extension fills in passwords from your Vault.
STEP 4
APPROVE NEW DEVICES
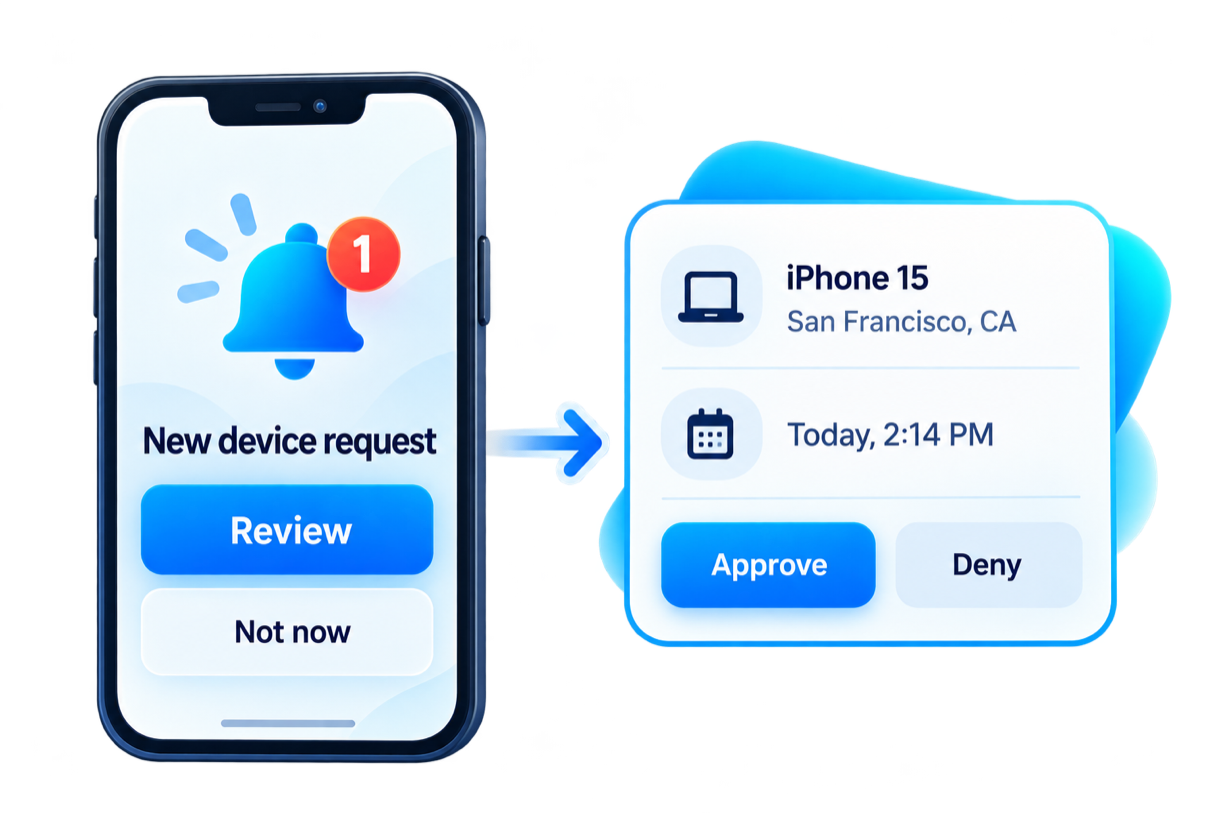
When you add a new device, you'll get a request on an existing trusted device. Review the details and approve it if it's you.
STEP 5
PREPARE FOR THE UNEXPECTED
Print your Recovery Kit and keep your Safe Spare Key somewhere safe. We'll add more recovery tools as PasswordFix develops.
For new devices you control
Use an existing trusted device to review and approve new device enrollments.
Fast, simple, and keeps your account in your hands.

For when you can't approve
Lost every device? Sign in on a new phone with your master password and the PasswordFix Key from your Recovery Kit. Your Safe Spare Key reopens your Emergency Safe.
BE AMONG THE FIRST